 |
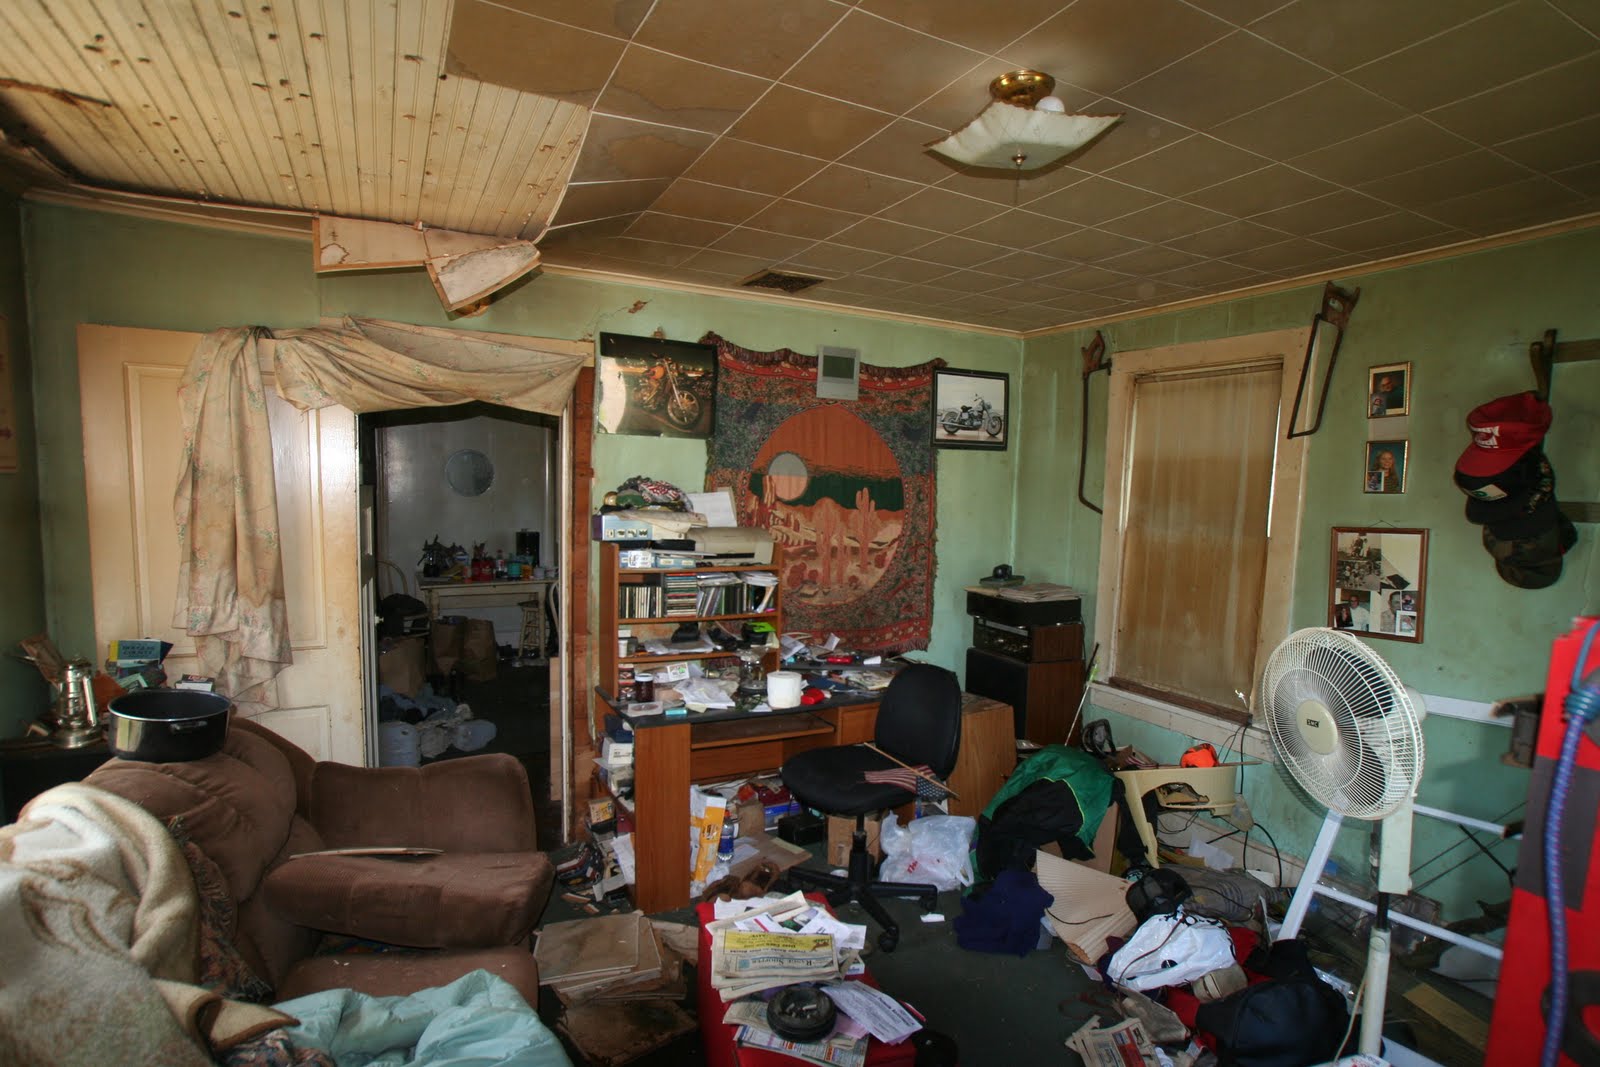
| Where the couch sits is the South window... |
You would think that the snow would have some affect on the dirt...nope..just froze the filth to the boards...
 |
| The difference...first one was how it was when I got it...second one is washed and third one is with the paint scraped off...just a little contrast to show you how dirty it was... |
7 layers of the wall paper were just normal paper ranging from 1930 maybe...to the pink and grey 1980's...the first layer was a layer of that cover paper that someone had just thought painting an erroneous shade of blue would cut it....but the bottom layer of paper...blue cardboard type paper...stuck on with something akin to hide glue...hide glue...anyone experience it? well it is like a combination of super glue and rubber cement...It was horrible..and hard to get off...I ended up soaking huge pieces 2 and 3 times and scraping with the paint scraper...not only did it stick to the wall? but as soon as it hit the floor, it stuck to the floor...after a couple of hours of scraping I would have to move on to something else...so I picked staples out of the ceiling for awhile and would then go back to scraping...it took two weeks of daily scraping to get that stuff off...I ended up with an entire 50 gallon garbage sack of BLUE PAPER! Blue paper has become the anti christ to me...NO MORE BLUE PAPER! EVER! Not even to write on...I will take yellow or white thank you very much!
I saw what was under that paper...because the patches under the windows had come off...it was old fashioned ship lap...big 10 inch solid hardwood boards..

.I fell in love with them...scouting the net? People are paying big bucks to have walls like mine installed for that cottage charm that is so popular now a days...and charming they are...this is a small cottage after all and the rustic, vintage look appealed to me right away...

My thoughts were an English cottage style....the quiet, calming, cozy, comfort of a sun filled room brimming with overstuffed furniture and books...as my home is so small...I took the advice of the HGTV design crews and decided to paint all the rooms on the main floor one color...so that was a relief! I wouldn't have to go thru the nightmare of selecting paint color again! I was so excited to paint it...what I didn't bargain for was the many days I spent pulling tacks and small nails out of those boards...I don't know what they were thinking when they put that cardboardy paper on there...they not only glued it to the wall... they tacked it up there too...like it was going to sprout legs and take off...I pulled an entire 5lb coffee can of tacks out of the walls...if I ever get to finish the furniture for this room, I will NEVER have to buy furniture tacks..
.
I also scrubbed and scrubbed until every miniscule particle of mildew was gone...
Next came primer...I didn't bargain for that either...I bought rollers...and ended up going right back for an itty bitty paint brush to slosh primer in all those cracks between the boards...


3 gallons of primer later...

The amount of light that came out of painting the walls and ceiling white was incredible...it was like being outside on a sunny day in the snow! There used to be an old kerosene stove in this room...it was in the cabin when I got the house...the chimney hole is still there, haven't figured out quite how to cover it yet...I also took the windows out...it was 9 degrees outside, LOL! but the storm windows held it at bay somewhat...there was an inch of ice on them inside and out which really prompted me to stop painting the walls and work on the windows! I have never tried to get panes out of old windows before...the glazing was rock hard and was terrible to chip off...Super Clean...that is all I have to say...amazing stuff...
I was terribly relieved when I got the North one done...it came out beautifully...I drilled a new window catch in it as I had taken the bottom of the South window(it was in better shape) and replaced the North with the South...does that even make sense? it did to me when I first thought it...hee hee...Maybe the paint fumes have gotten to me a little too, Sandi!
I replaced the molding before I painted the walls...why? impatience probably...and what little room I had to work with was being eaten up by storage items piled in the middle of the room...add really long lengths of molding and it was getting ridiculous!

Lisa,
ReplyDeleteIt was very common in the old days for them to add the cardboard to the hardwood on the walls. Poor mans walls as my father-in-laws says. His family farm is still in the family, In it there is layers of newspaper then the cardboard (they got at stores and such free), that smoothed the walls for the wallpaper. It was kind of neat reading the newspapers as the layers began the fall off. The newspaper was there for insulation.
The outside siding is what I would call a roll on roof. No one has lived in the house since the sixties and no one can bring themselves to mow it over the cows seem to love it. LOL! Well I guess I'm showing my age!
Sandi
Looks really good so far.It does look so happy, fresh, and full of light with the white walls. Have to agree on the fir moldings being white. Love that leaded window. Glad it could be saved.
ReplyDeleteAs for the old stove pipe hole in the wall, if you can't added a piece of the wall board in it. I would get me a picture frame put something pretty in it and add hinges and a door knob and make it look like access panel. Or paint it all white.
Sandi
OH Sorry, but I forgot to ask. Did you fill all the knot holes in the wood? I have had to place picture over them in here. Wondered what you used if you did.
ReplyDeleteSandi
Hi Sandi! I am so thankful for modern insulation! That cardboard paper was awful, I much prefer the planks! I filled the knot holes with regular caulk and smoothed them out really well and then just painted over them...It is really hard to tell where they are.The access panel idea is excellent! someone just filled the hole with cement and I was thinking of taking it all out and trying to put back a smoother version, then fitting a piece of the wood in there. They did a terrible job trying to fix it. You should let me at that house! this is a poor mans house too!lol!
ReplyDeleteSandi, I would just love to see your walls! PLEASE! hee hee! sounds like you have the same thing! the primer made a huge difference but when I show the paint tomorrow, the difference is even bigger! It added so much softness to it...thank you for the info! it is so good when someone can share history of old houses with me!
Thanks, I didn't know if caulk would work or not. And I'm terrible with wood putty. I have tongue and groove cedar panels. Not smooth, well one piece will be smooth and the next is rougher than barn woods, so it is soaking up paint like crazy. I started sanding the stuff and that was terrible. Couldn't breath.LOL I did have to caulk between each piece, because the way the last owner put it up, to make it look even. It's taken for every with the 9 million nail holes to fill. I have gone to just doing a four foot section a day. In the kitchen I add bead board.
ReplyDeleteWhen I get this wall done and the sectional back in place I'll send you a picture.
Sandi
I know what you mean about rougher than barn wood! Mine are like that in spots and it would stick the roller to it when I tried to paint. Caulk was way easier than putty, I could smish it into the cracks with a damp rag...the putty just got everywhere and looked like I should sand it...and I couldn't do that..I already had a terrible mess! You are more patient than me, though! I filled up my nine million nail holes with paint and only filled the large ones with caulk! That Kilz paint is so thick it did a good job! I can't wait to see it, Sandi! I bet that tongue and groove is gorgeous! and charming! I love looking at other people's houses!
ReplyDeleteI'm loving your blog! I live in So. California where it seems like everything has to be big and new. With some great ideas and a lot of hard work you are making yourself a really great home. Can't wait to see the fully painted living room! I think HGTV should do a special on you!
ReplyDeleteYou are so kind! It makes a difference, I think, if you are poor. I have been rich and I have been poor and I think I like poor better! Being "rich" is a state of mind..My life seems fulfilled now, like it has never been...and I sure appreciate "things" a lot more. Especially hand crafted, durable, quality "things"...my whole perspective on life has changed...it has become a need versus want situation...where as America has turned into a WANT WANT WANT nation...I have undergone a complete re-education in the last 8 months...I have learned to do things I never thought possible because I had to...I am stronger, more knowledgeable and more aware than I have ever been...it is amazing to me that there are more people that want this now...I am not special, just determined and MAN! is it fun!
ReplyDeleteSimply amazing! I've shared your blog with friends on Facebook. What a great blog!
ReplyDeleteThank you Virginia! That is absolutely wonderful!
ReplyDeleteLook at those gorgeous leaded windows!
ReplyDeleteI love white too, love shabby chic, pink is my favorite color but it is too overwhelming to use other than an accent color. I want to paint everyone white.
you know what Kathy? ME TOO! LOL! White used to be an "apartment" color but now? it is the end all be all...beautiful!
ReplyDelete